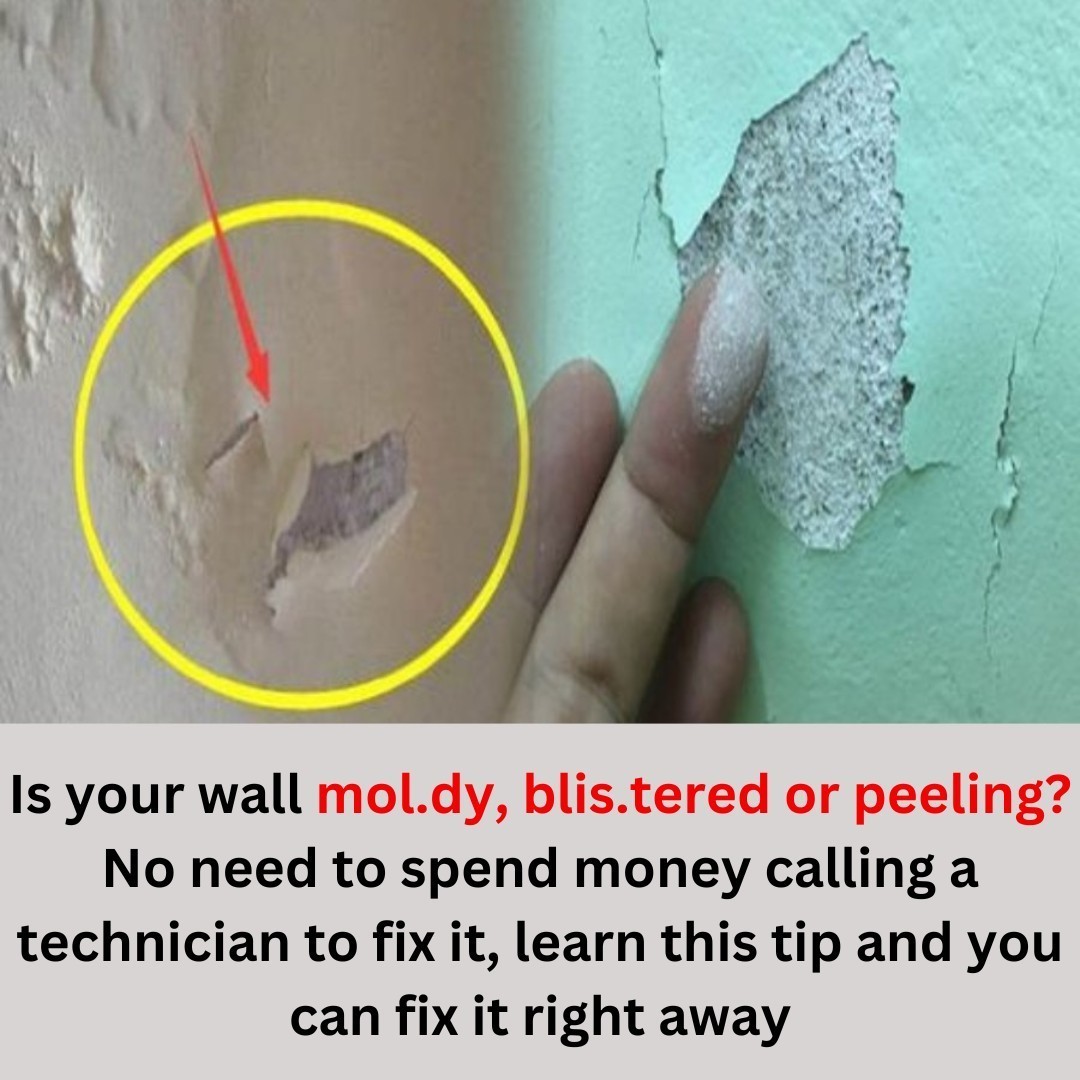
Dealing with walls that have dampness, mold, blistering, or peeling can be frustrating, but before you rush to call a technician, try these simple methods that can help you resolve the problem quickly and efficiently. These are common issues in many homes, especially when the weather turns damp or rainy. Not only do these issues affect the look of your walls, but they can also pose health risks, especially with mold growth. Fortunately, with some basic steps, you can handle these problems on your own and save money for your family, all while keeping your home safe and healthy.
1. How to Deal with Mold on Walls: A Simple Treatment
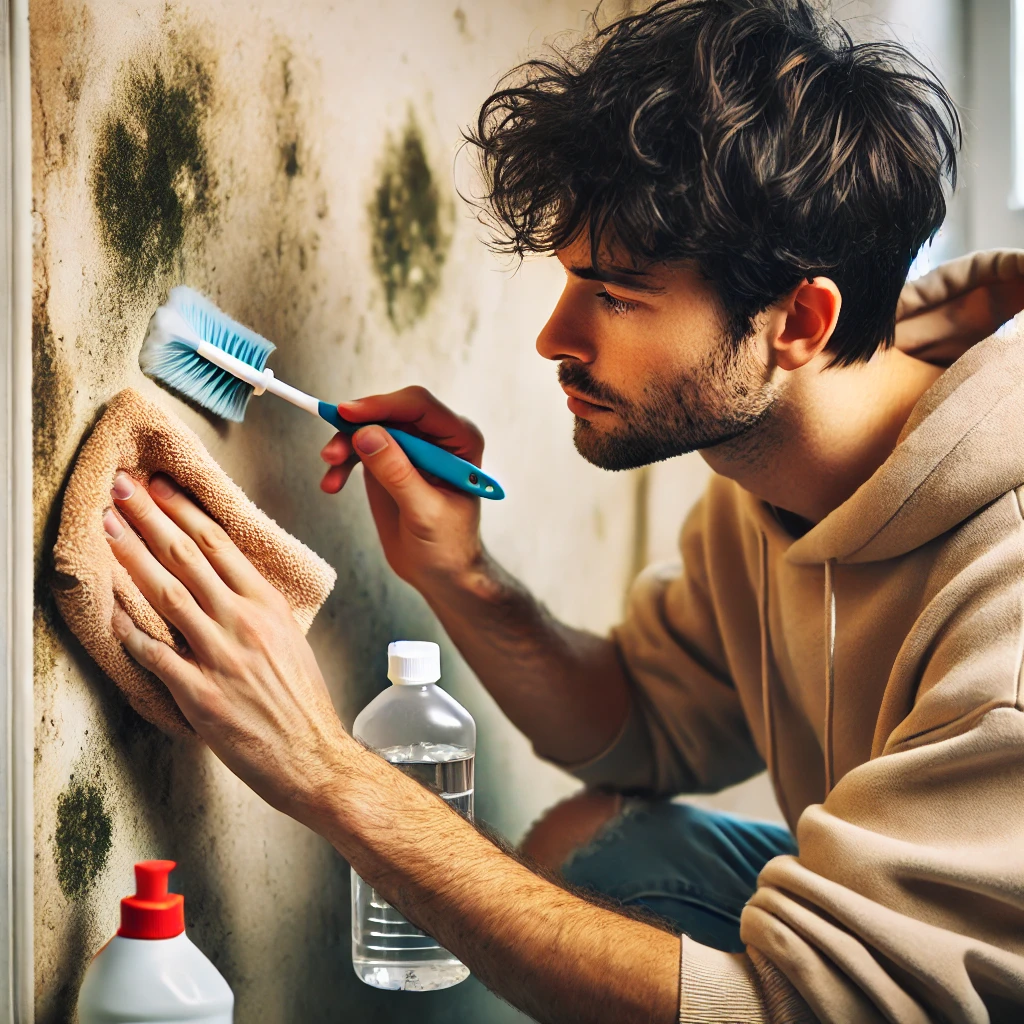
Mold can develop on walls over time, particularly in humid or damp conditions, and can lead to potential health issues if left untreated. Instead of immediately calling a professional, you can handle it yourself with a few basic supplies.
Step 1: Initial Cleaning
When you first spot mold, the first step is to use a dry toothbrush to gently scrub away the visible mold. This helps remove some of the mold from the surface.
Step 2: Disinfect with Alcohol
After the mold is brushed off, take a soft cloth soaked in alcohol and gently wipe the affected areas. This step is essential as it dries out the mold and prevents it from spreading further.
Step 3: Apply Bleach Solution
Now, mix bleach and water in a ratio of 1:99 (1 part bleach to 99 parts water). Pour the solution into a spray bottle and spray it directly onto the moldy areas. For more stubborn mold, especially during the rainy season, increase the bleach concentration to a 1:20 ratio. Let the area dry completely.
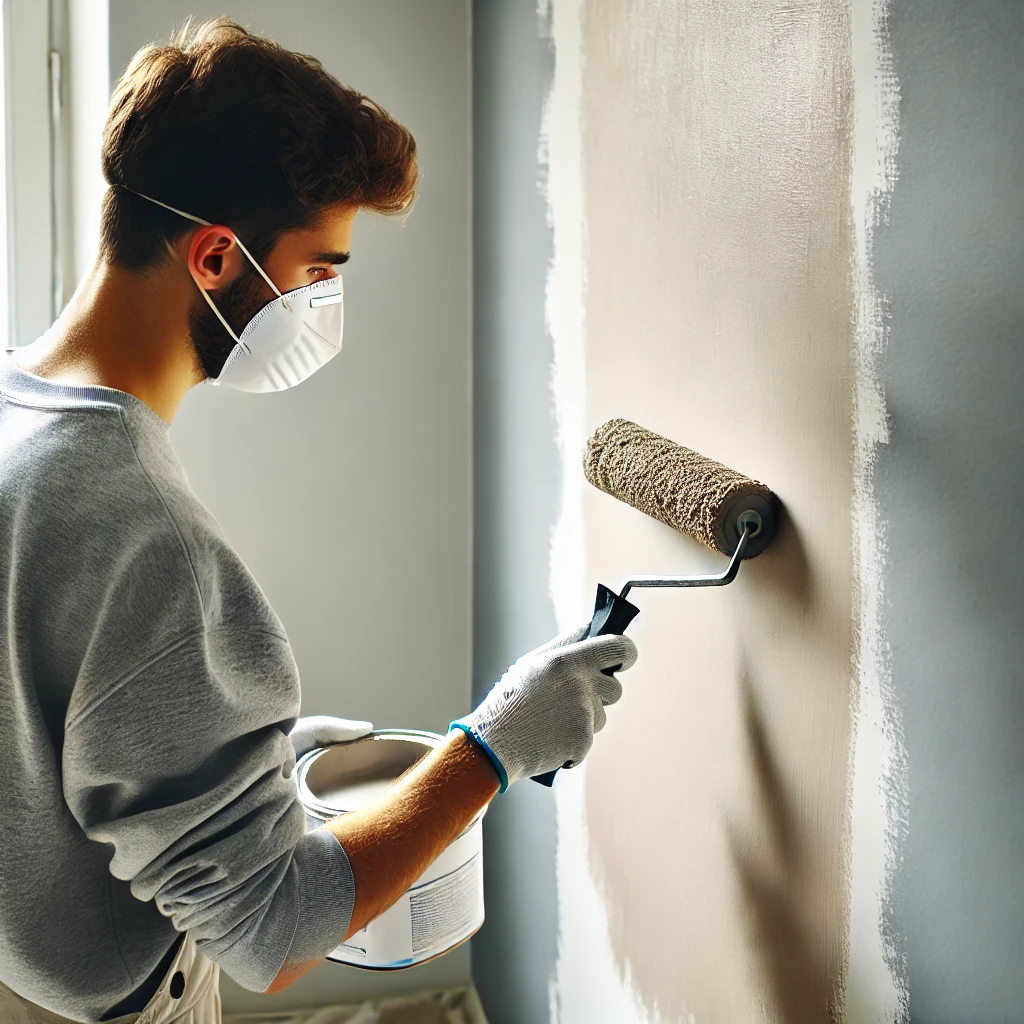
Step 4: Smooth and Paint the Wall
Once the mold is gone and the area is dry, use sandpaper to smooth out the surface. Afterward, apply a waterproof primer to the wall before painting. This will help seal the wall and prevent future mold growth due to moisture buildup.
2. How to Fix Blistering Walls: A Quick Guide
Blistering walls, while common, are an issue that can be caused by a variety of factors, including moisture or poor application of wall filler. Here’s how to handle them:
Step 1: Remove the Blisters
The first thing you should do when dealing with blistering walls is to remove the affected areas. If the problem is caused by old or poor-quality wall filler, scrape it away and apply high-quality filler to patch up the area.
Step 2: Handle Localized Blisters
For localized blistering, scrape off only the blistered area. Once you’ve done that, smooth the edges of the affected area and apply a primer. Then, repaint the area with the same color and texture.
Step 3: Handle Large Blisters
If the blistering is widespread, scrape off the entire affected area and let the wall dry completely. Then, apply a new layer of plaster to the wall. This will restore the surface and prepare it for painting.
Step 4: Prevent Future Issues
When repainting, make sure to follow proper construction guidelines. Apply waterproofing at the base of the walls and repair any cracks that may have caused the blistering in the first place. Also, avoid painting during the rainy season to prevent moisture from affecting the paint.
Bonus Tip:
When choosing a primer and paint, it’s always best to stick to the same brand and product line for consistent results. This ensures that the primer and paint work well together and bond properly to the wall surface.
3. How to Address Peeling Walls: A Simple Solution
Peeling walls can make your space look unsightly and lead to dust and sanitation problems. Here’s how you can handle peeling walls effectively:
Step 1: Remove the Peeling Sections
To start, scrape off the peeling paint or plaster. Once you’ve removed the peeling areas, smooth the edges of the affected sections. After that, apply a primer to the bare surface.
Step 2: Handle Severe Peeling
If the peeling is severe and widespread, it’s best to remove the top layer of the wall and apply a surface treatment or primer. This prepares the wall for a fresh coat of paint.
Step 3: For Heavy Peeling Areas
If the peeling is particularly heavy, use a spray bottle with water to dampen the affected section. Then, use a scraper to carefully remove the peeling paint. If the paint doesn’t flake off easily, it’s likely that the wall’s original filler was of good quality, and you can proceed by smoothing the area with fine sandpaper before applying primer and paint.
How to Prevent Future Wall Damage
Once you’ve taken care of these issues, it’s essential to prevent them from happening again. Here are some tips to help you maintain healthy walls:
- Ensure Proper Ventilation: Proper airflow helps prevent mold buildup and peeling due to excessive moisture. Keep windows open when possible and use exhaust fans in high-humidity areas like bathrooms and kitchens.
- Fix Leaks Promptly: Water damage is a common cause of wall issues. Check your walls regularly for any signs of leaks and repair them immediately to avoid long-term damage.
- Regular Maintenance: Periodically check your walls for any early signs of mold, peeling, or blistering. Early detection can help you address small issues before they turn into larger problems.
Conclusion: Save Money and Fix Your Walls Yourself
Dealing with mold, blistering, or peeling walls doesn’t have to require expensive professional help. By following these simple steps, you can tackle these issues effectively and save money while maintaining a healthy, attractive living space. From treating mold to fixing peeling paint, these DIY methods will help keep your home in great condition. Remember, regular maintenance and proper prevention techniques are key to avoiding future wall problems.
For More Information on Home Maintenance and Health Topics: